Showing posts with label paint. Show all posts

Chalkboard Pumpkin Countdown

>> Monday, October 17, 2011

Fourteen days until Halloween! I have a snowman that countsdown to Christmas but nothing else. And my kids love to know exactly how many days are left until a special event. This year I created a chalkboard pumpkin to countdown the days until Halloween. Each day we wipe off the number and write the new one with chalk. After Halloween I'll change it to read Days Until Thanksgiving.

Just start with a good sized pumpkin. This one had a rounded front shown here and a nice flattened back that worked perfect for the countdown.

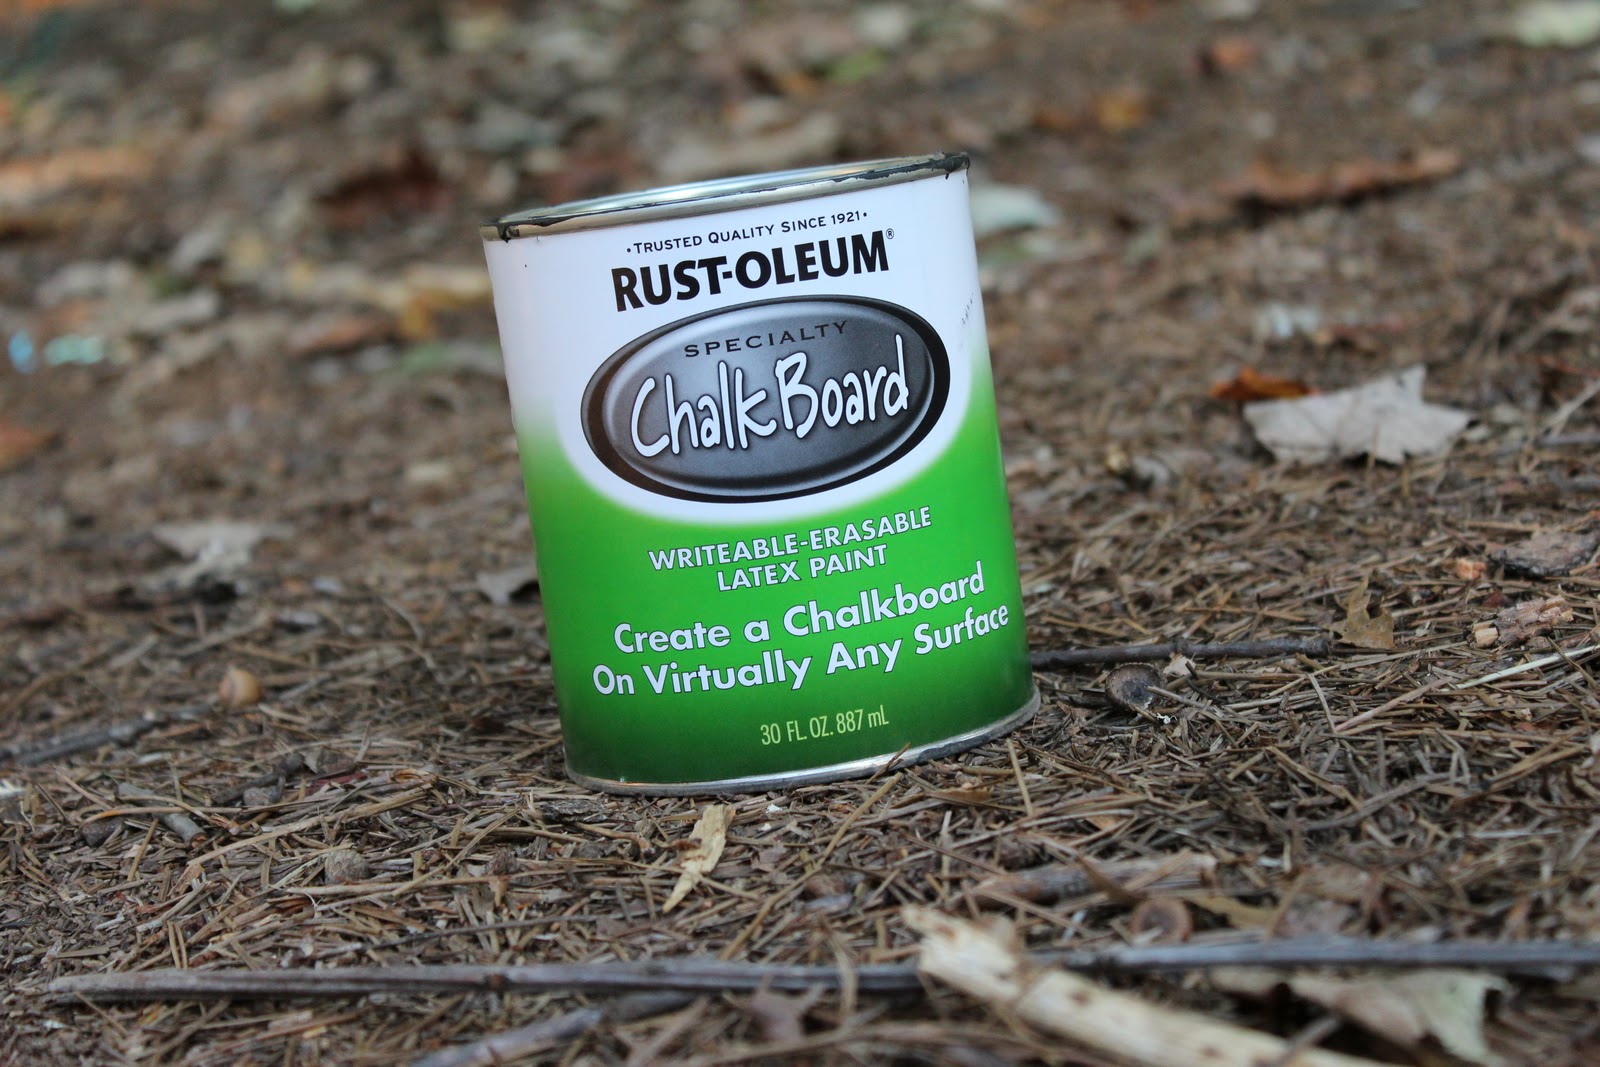
Apply a few coats of chalk board paint. And you're done.

Huge added perk to this simple craftiness is the kids can use the chalk to create different Jack-o-Lantern faces on the other side.

Happy Halloween!

Read More...

Snake Wreath

>> Tuesday, October 11, 2011

This is another creation credited to Pinterest. I'd seen a snake wreath pop up there a month ago, a snake wreath created by none other than Martha Stewart. I had to make the wreath with my family's snake history including the copperhead that bit our dog last year and the rat snake somehow discovered in my son's room; we needed a snake wreath for Halloween.

I found a plethora of rubber snakes at the Dollar Tree and dollar spot section at Target.

I also needed a wreath. I wanted a large grapevine wreath and I found this one on half price day at my favorite thrift store.

Read More...

Rainbow Pots of Gold

>> Thursday, March 17, 2011

Happy Saint Patrick's Day! Earlier this month for Dr. Seuss's birthday I made the kids green eggs in a basket for lunch but did them in the shape of a clover to hit two holidays at once. Instead of repeating green clover eggs this morning I decided to play Leprechaun. I bought small terracotta pots for 69¢ at Hobby Lobby for the kids to paint their versions of a rainbow. We talked about the colors of a rainbow and I told them my inspiration painted the colors of a rainbow in order around the pot. However, I encouraged them to create with the colors of a rainbow as they wanted. And then I promised that on St. Patrick's Day I would fill their rainbow pots with GOLD!

All the colors of the rainbow ready. Best dollar I ever spent in the Target dollar section was for ice trays to hold different paint colors

Read More...

Creating Catwoman's Necklace

>> Thursday, October 21, 2010

Princess Fierce has changed her mind about wearing Darth Fairy costume I made her again on Halloween. Apparently she really only wanted it for the Dragon*Con parade, or at least until she found a pair of knee high faux black leather boots at Target. She bought the boots with her birthday money choosing the footwear over aisles and aisles of toys. And the same afternoon looked at me and said, "I want to be CATWOMAN for Halloween and wear my boots!"

I considered the more recent catwoman incarnation but really determined that's not fitting for a five year old. We're going old school, Julie Newmar style catwoman. I've got the boots, the black pants, the black shirt, the black ears but I need the gold belt and most importantly the gold necklace to pull this off.

I couldn't find a lion button or charm so I cut the head off a toy lion.

Read More...

Painting Pumpkins

As I mentioned before, I do not like to carve pumpkins. I only did a carved jack-o-lantern and expensive trip to a "pumpkin patch" one year with all our kiddos. I was disappointed the pumpkins weren't on a vine in this so-called patch but instead we were carried by tractor pulled hay ride across a field to yet another field where pumpkins were scattered about. The kids enjoyed the day, our wallets did not. And the resulting carved pumpkin became a stinky, rotting mess on the front step.

The one and only year in a large Pumpkin Patch, October 2007

The next year I switched gears and instead of spending too much on one day in a crowded field with strangers to buy one expensive large pumpkin, we visited our friends that run a pumpkin patch in front of their church and let each kid pick out their own pumpkin to PAINT.

The first painted pumpkins, October 2008

My goblins with their creations year two of painted pumpkins in 2009

This year the kids started asking very early in October when we would be going to visit our friends' pumpkin patch to buy the pumpkins. And I suppose by year three I can call this a tradition, right?

Read More...

Painted Glass Pumpkin Luminaries

>> Monday, October 18, 2010

I do not like to carve pumpkins. The one year I did it with the kids it was not a pretty result, the face or the following ant invasion and rot. Eww. Ever since that fateful Halloween, I've been taking the kids to a local pumpkin patch to pick out their own pumpkins to bring home and paint. I adore the way the decorated pumpkins adorn my front porch, but I miss the flickering glow of a jack-a-lantern. Now I miss it no more. Several weeks ago I came across this great project on Crafts by Amanda for Halloween Painted Jar Luminaries. Go look at them; they're awesome. 

That same week I found a bevy of floral glass vases for one dollar each at a local thrift store. When I saw their shape I thought they'd make great pumpkins.

Read More...

Kids Artwork Into Useful Presents

>> Monday, October 11, 2010


Turn art into permanent storage containers! This is something I made September a year ago for my dad's birthday but worth sharing with Christmas right around the corner. I know, I know, it's not even Halloween but trust me the gift giving holidays will be upon us before we know it. December is like a ninja and just takes me by surprise every year. Fortunately, even if you do get taken by surprise, this present can be done in just a few hours. 

First you need to find a large glass jar. I bought the large 2.5 gallon jar above at The Container Store. But just this past weekend I saw large glass jars with glass lids at The Goodwill. Yard sales are also great places to find these jars. I've also thought this project would work well for hanging art. Use an old frame with glass or buy a new one to match your decor, add coordinating fabric or scrapbooking paper to the frame's back board to finish the effect. Second you'll need glass paint and conditioner. I bought Delta's CeramDecor Perm Enamel. This glass paint air dries and requires no baking. Apply the surface conditioner to your clean glass, allow to dry then you're ready to paint which brings us to the last thing you'll need. 

Your kid's artwork. This gift was for my dad. He loves pretzels and always kept a huge plastic jug of them on his desk at work. This was to replace that. I asked the kids to draw a picture of their PawPaw. I asked them to only use one color so it would be easier for me to transfer. I cut out their art, used the copier to adjust the size, and taped each drawing to the inside of my glass jar. Finally, I traced over each illustration with the special black glass paint. If your children are older I see no reason they can't do the paint tracing on their own. 

Read More...
Related Posts Plugin for WordPress, Blogger...