Showing posts with label Crafty. Show all posts

Snowman Wreath

>> Sunday, December 11, 2011

Isn't he the cutest? I love my new snowman wreath. It was incredibly easy and economical to make, too. I already had the center wreath in the basement.

Read More...

Advent Activities Rundown

>> Monday, November 28, 2011

I cannot believe it is only three days until I begin our annual advent activity tradition. I posted last year about the things we included in 2009, the first year we switched from candy to fun, you can find that post here. Last year I had planned to post our activities six days at a time as they happened but the month was just far too busy for blogging and I only posted the first six. Instead of blogging them in January I saved it for a more timely post...now! I've had several requests for our list of activities. I'm still working on this year's list. Many of these will remain the same since in just two years they've become things the kids really look forward to.

But without further ado here's what happened in 2010:


December 1st
Decorate Your Own Christmas Tree in Your Bedroom

December 2nd
Ice Cream Sundae Bar After Dinner
The slip of paper had to specify after dinner or the kids would've been asking for these as soon as breakfast was over.

December 3rd
Write and Mail Letters to Santa
After they created their letters to Santa we drove to the mall to drop them in the large red mailbox Macy's has set up specifically to collect letters for Santa. The kids enjoy the large Santa mailbox and I like the fact Macy's donates a dollar for every letter to the Make a Wish Foundation.

Read More...

A Jasmine Yarn Wig

>> Friday, November 18, 2011

Princess Fierce wanted to be Jasmine for Halloween. She made up her mind in September and never wavered. I'm fairly confident the decision was based purely on the fact she wears a two piece outfit. I lucked out and found two complete blue and pink Jasmine costume including gold shoes at a local consignment store for under $30 for everything.

She wore the pink outfit to see Disney on Ice: Dare to Dream with her cousin. An excellent show if you can still catch it in your town. For the show I tried to style her short, thin hair in the best imitation of Jasmine's hair I could manage. She loved the result. But for Halloween I'd made the offhand comment that I thought I could make her a Jasmine yarn wig. After Disney on Ice she told me she hoped I could make one but if I couldn't she'd be happy with her hair this way again. Such a sweet girl.

I searched Pinterest and Google for inspiration but came up with only one other person making a yarn Jasmine wig. And she used a completely different method than I was comfortable with. I cannot crochet yarn into a highlighting cap. Nope. So I went my own way. I started with a pair of black girls tights from the clearance rack at Target. $1.50 for her wig cap. I put the waist around her hairline then tied a tight knot with the legs. 

Read More...

Chalkboard Pumpkin Countdown

>> Monday, October 17, 2011

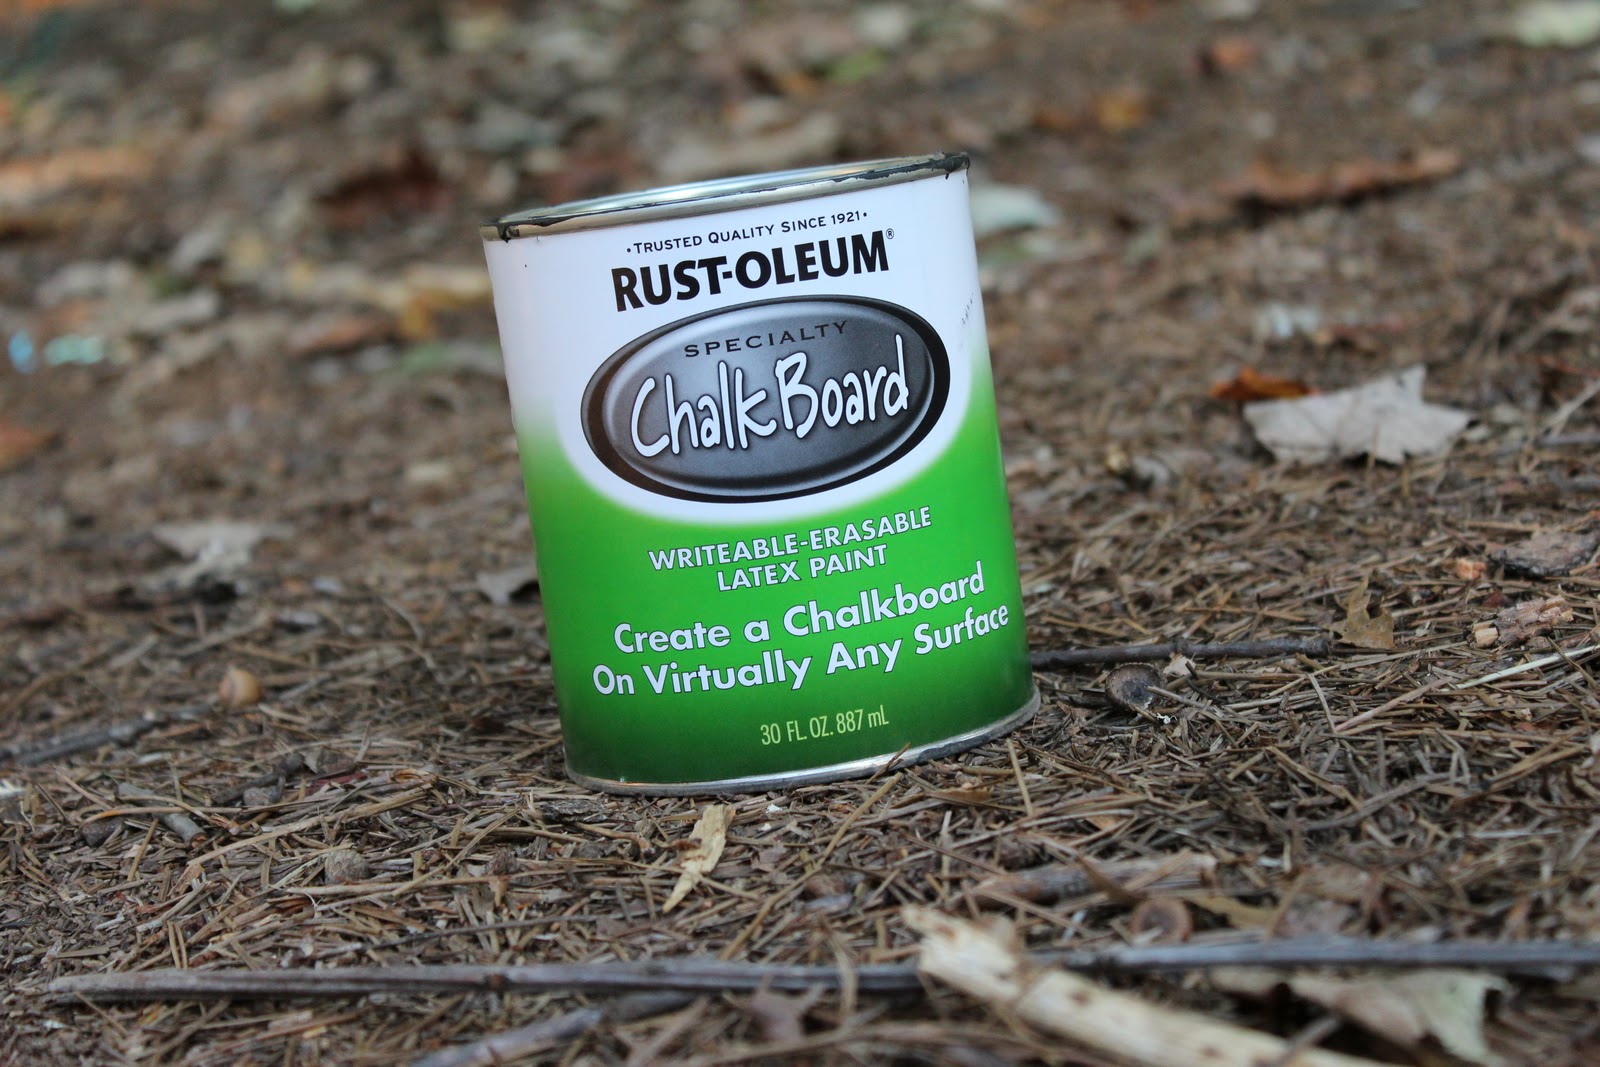
Fourteen days until Halloween! I have a snowman that countsdown to Christmas but nothing else. And my kids love to know exactly how many days are left until a special event. This year I created a chalkboard pumpkin to countdown the days until Halloween. Each day we wipe off the number and write the new one with chalk. After Halloween I'll change it to read Days Until Thanksgiving.

Just start with a good sized pumpkin. This one had a rounded front shown here and a nice flattened back that worked perfect for the countdown.

Apply a few coats of chalk board paint. And you're done.

Huge added perk to this simple craftiness is the kids can use the chalk to create different Jack-o-Lantern faces on the other side.

Happy Halloween!

Read More...

Snake Wreath

>> Tuesday, October 11, 2011

This is another creation credited to Pinterest. I'd seen a snake wreath pop up there a month ago, a snake wreath created by none other than Martha Stewart. I had to make the wreath with my family's snake history including the copperhead that bit our dog last year and the rat snake somehow discovered in my son's room; we needed a snake wreath for Halloween.

I found a plethora of rubber snakes at the Dollar Tree and dollar spot section at Target.

I also needed a wreath. I wanted a large grapevine wreath and I found this one on half price day at my favorite thrift store.

Read More...

Jellyfish in a Bottle

>> Friday, September 16, 2011

I saw this idea on Pinterest from a blog in Thailand. I knew I wanted to make it with my kids.

You'll need an empty plastic bottle, preferably a smooth one. Mine is a Smartwater bottle. A clear plastic bag. In the Thai blog, she used a clear shopping bag but I don't have a single store near me that uses clear shopping bags. They're all white or yellow. However, the thinner produce bags are clear so I used one of those and hoped it would work.

Read More...

Custom Ribbons for Pennies

My neighbor and I volunteered to handle the neighborhood Independence Day parade and picnic this year. One of the items handed out at each parade is a ribbon for the parade participants. In the past these have been purchased from the dollar or party stores at around a dollar a piece. I thought I could surely beat that cost.

I made these for pennies a piece. 

And the best part is mine could be worn by the parade participants and not just looped on to the handle bars of their decorated bikes.

Read More...

Peep Wreath

>> Tuesday, April 19, 2011

My friend next door made a cute and simple Peep chick wreath the other weekend. I had to follow suit and make one too. I chose the Peep bunnies just to be less of a copy cat. This wreath cost less than $7 to make. Shazzam!

Read More...

Silk Dyed Easter Eggs


This year I tried out silk dyed eggs. I saw this technique last year after I had already dyed marbelized eggs. Drats! But then again maybe waiting a year was worth it. I'll definitely be doing this process again.


Here's a list of all you'll need to do the same project:

  • large uncooked eggs
  • 100% silk ties, scarves, shirts, etc.
  • 100% cotton cloth squares
  • rubber bands, twist ties or string
  • non-reactive pot to boil eggs (enamel, glass or stainless steel)
  • vinegar
  • patience

My kids and I set off to the thrift stores in late March in search of silk ties. I let the kids pick whatever tickled their fancy as long as it had a 100% silk label and was $1 or less.
Here's our bounty of ties.

Read More...

April Fools' Faked Potatoes

>> Thursday, March 31, 2011

Need a quick prank for your kids tomorrow? I whipped this one up last year after the kids went to bed thanks to Family Fun magazine. You may have all the materials already if you're crafty. All you need are nude color knee highs or old pantyhose, batting, needle and thread. If you're anti-nylons like myself you can grab a cheap pair of knee highs at the dollar store.

Here are the fast how to steps:
  1. Trim the knee highs/hose to an 8" length.
  2. Stuff the center of the hose to your preferred potato size.
  3. Twist ends and fold underneath, stitch in place.
  4. Sew eyes by coming up from the bottom of the "potato" out the top then back in beside the same spot to the bottom, pull to dimple then knot.

I placed these on a baking sheet in the oven and called the kids for baked potatoes for lunch. They giggled like mad when I pulled them out of the oven. We then cut open the tops and I added a small square of craft foam butter. Thing Two still has his potato in his room a year later.

Now I need a prank for tomorrow...

Read More...

Marbelized Easter Eggs

>> Wednesday, March 30, 2011

Last year was the first year I attempted dying eggs with my kidlets. I remember dying eggs when I was a kid but for some unspecific reason I'd not done it with my own. I think it was a combination of the mess potential and the what do you do with them now issue. But last year I cleared the table, boiled a dozen eggs and prepared to relax my uptight ways and let creativity happen. 

Read More...

Rainbow Pots of Gold

>> Thursday, March 17, 2011

Happy Saint Patrick's Day! Earlier this month for Dr. Seuss's birthday I made the kids green eggs in a basket for lunch but did them in the shape of a clover to hit two holidays at once. Instead of repeating green clover eggs this morning I decided to play Leprechaun. I bought small terracotta pots for 69¢ at Hobby Lobby for the kids to paint their versions of a rainbow. We talked about the colors of a rainbow and I told them my inspiration painted the colors of a rainbow in order around the pot. However, I encouraged them to create with the colors of a rainbow as they wanted. And then I promised that on St. Patrick's Day I would fill their rainbow pots with GOLD!

All the colors of the rainbow ready. Best dollar I ever spent in the Target dollar section was for ice trays to hold different paint colors

Read More...

I'm On a Boat with my Nautical Themed Pashmina

>> Wednesday, February 2, 2011

In order to understand this post you have to know a couple of things.

First you must know about one of my man's absolute favorite SNL Digital Shorts: "I'm On a Boat."

Explicit language warning: to see the cleaner, dubbed version click here.

When we went to Legoland last year my man flipped that Lego thought to include this shout out in their Miniland USA portion of the park. Almost made stepping on Legos at 2am forgivable. Almost, that really hurts!

Read More...

Ice Wreaths

>> Thursday, January 13, 2011

I did not create this crafty bit of winter fun. I can't even remember where I first saw it months ago. A quick google search returns far too many variations to know where to credit. What I do know is when I saw it I thought it would never be cold enough, long enough in the south to make an ice wreath. And then my town became Hothlanta.

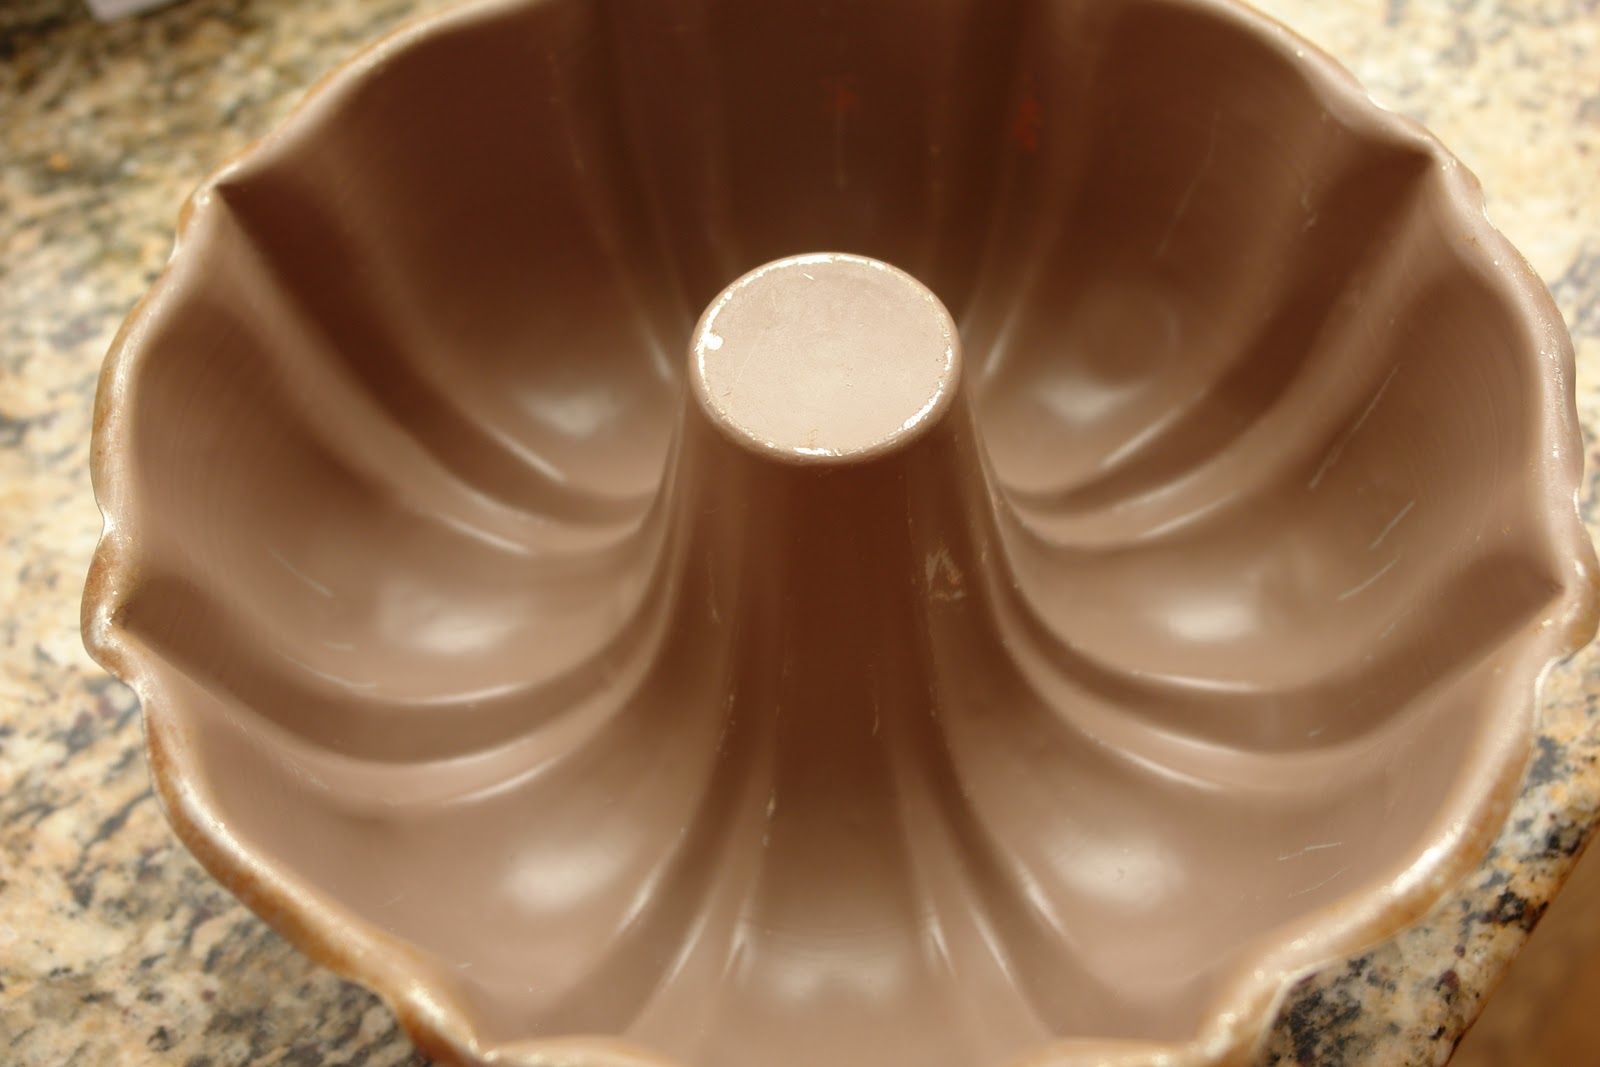
I used one of my old bundt pans for my biggest child to create. The younger two just got glass bowls with a juice glass in the middle to create the hole.

Read More...

Handprint Wreath

>> Friday, January 7, 2011

This simple handprint wreath was part of our Advent activities this past Christmas. We're lucky enough to have my parents living just two doors down. And recently my dad's mom has come to live with them, now my kids have their grandparents and their great grandmother living close by. Great Grandma Gene's preferred holiday decor is white and blue; my mom's Christmas style is all Santas all the time. To help her feel more at home my mom found a small white tree and outfitted it with blue and white lights for Great Grandma Gene's bedroom and I thought the kids could make her something to help make the room festive as well.

To make this wreath I traced and cutout three of each of my three kiddos' hands on white and cream paper; total of 18 handprints. I used a dinner plate to trace a circle on a scrap piece of cardboard and a smaller bowl to trace and cut out the middle circle for my wreath form.

Read More...

Crystal Snowflakes

>> Thursday, January 6, 2011

We don't get much snow in the southeast but thanks to this simple craft the kids have been making their own large sparkly snowflakes the past two years. All you need is boiling water, pipe cleaners, borax and a large container...easy peasy.

The snowflakes really last too. This is the one my daughter made in 2009. The color faded from hanging in her window an entire year but the crystal structure remains strong.

It now hangs in my laundry room since her current one took its old place in her window. Fitting spot since it's made from household laundry detergent.

To make your own you're going to need some pipe cleaners. I cut 3 pieces about 5" long and another 6 pieces just under 2" long per snowflake.

Read More...

Recycle Old Christmas Cards into New Christmas Cards

>> Tuesday, December 7, 2010

A great Christmas craft for the kids and a wonderful way to recycle all the cards you receive from previous years. This was a favorite Advent activity last year and again this year.

The night before this activity I cut out all the images and messages from my stack of old cards. I also fold construction paper in different colors into cards.

Read More...

Halloween Costume Recap: Catwoman

>> Thursday, November 18, 2010

Best laid plans and having children goes together as well as oil and water. Halloween is a great example. You may recall Princess Fierce wanted to be Darth Fairy for Halloween. Yet she needed the costume made in advance to also be worn while watching the Dragon*Con parade. She loved her Darth Fairy costume and was convinced it was still going to be worn again at Halloween...

until...

well, until...

the boots.

These boots changed everything. Princess Fierce was given a nice $20 bill in her birthday booty. When we head off to Target to spend said money she sees no suitable toys. Instead her newly minted five-year-old self walks down to the shoe aisle. Wha? Did she just turn five or twenty-five? She tries on several things until she spies these black boots on a high shelf. From the minute they went on she was in love. She looks up at me hopefully to ask if she has enough money to buy them. Indeed she did. 

And indeed she did buy them. Then she said something else. Her heart bursting with future joy, her eyes lit up with excitement she says, "and now I want to be CATWOMAN for Halloween!"

But, but, but what about the Darth Fairy I made? *sigh* I had to admit the boots would rock as part of a Catwoman costume. And I couldn't forget her favorite person to find at Dragon*Con to be photographed with was...

Catwoman. However, I asked her if instead of being the Dragon*Con Catwoman I could persuade her to check out a much more child appropriate Catwoman.

Read More...

Witch's Cupboard Halloween Game

>> Monday, November 1, 2010

For the third year I've done this spooky table of gross things for the kids to touch at our neighborhood Halloween party. I try to include new icky things each year. It's always a hit with the kids. They do love gross things. 

The entire table display is done kid height. I throw an old black sheet over the table then top with a torn piece of cheese cloth. For the cauldrons I cut cheese cloth in half, fold diagonally, lay across the cauldrons with a gap at the front. Next I fold up the corners loosely and stretch a rubberband around to hold them in place It's supposed to imitate fog coming out and leaves place for the kids to reach inside and also peek at what they touched.

The sign reads: Welcome to the Witch's Cupboard. Reach beneath the fog within the cauldrons and touch if you dare. I created the sign by doing a google image search for old paper. I chose the font from the free Halloween fonts at dafont. I do a cheap laminating job by using strips of packing tape. And I created the stand on the back from leftover cardboard. It's hard to see what's next to it in this picture but those are "Dried Bat Wings." I bought the dog treat pig ears and painted them black. Totally creepy.

Read More...

Tony Stark and Abby Sciuto Halloween Fun

>> Monday, October 25, 2010

This weekend we had some early Halloween fun. My man and I had double Halloween parties on Saturday night and Sunday we took the kiddos to Boo at the Zoo. For the Halloween parties my husband thought it'd be fun to go as Iron Man. Since he's grown his hair out and sports a goatee I thought Tony Stark would be better. Plus I'd seen this instructable earlier in the year on how to make an inexpensive arc reactor and I'd been wanting to make it.

 One strand of battery powered LED lights and a 3" styrofoam disc. Total cost: $7.27

I cut the disc in half so it could be as thin as possible, then poked small holes where I wanted the lights to go.

Read More...
Related Posts Plugin for WordPress, Blogger...